Important Update: Ally™ Pro migration to Leanheat® Monitor
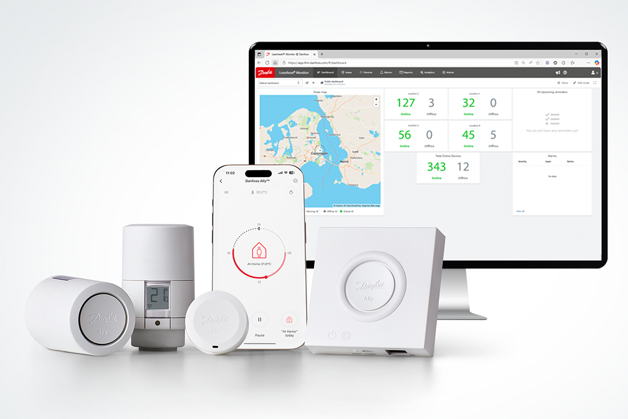
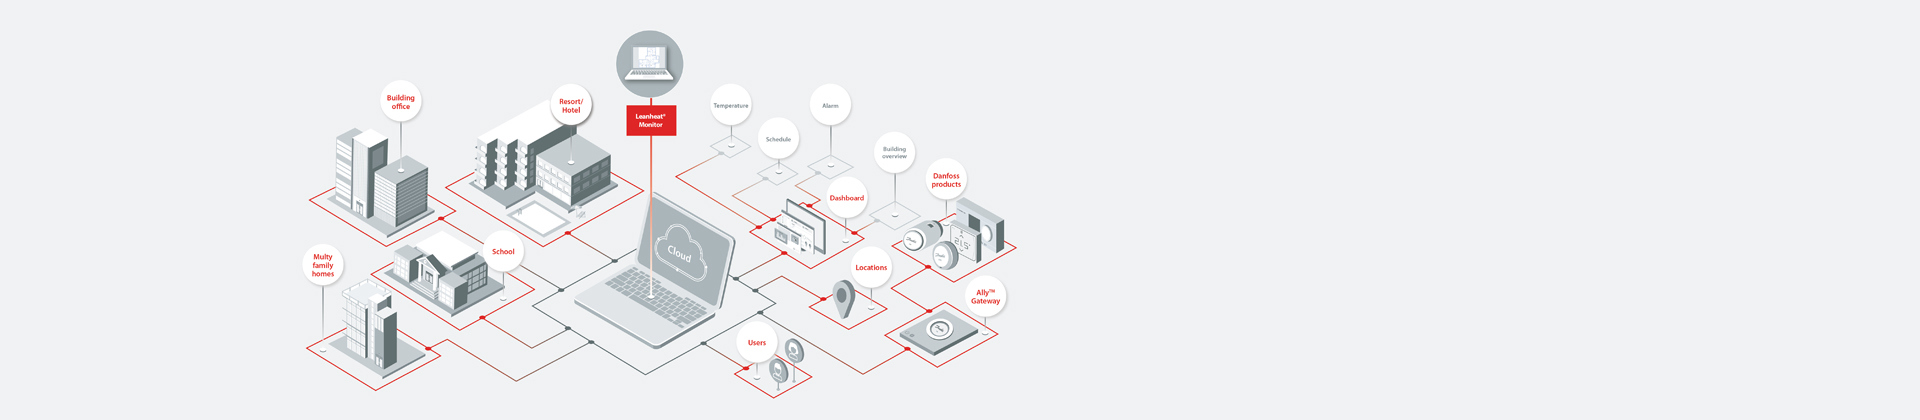
We are excited to inform you that Ally Pro™ has been migrated to Leanheat® Monitor. Leanheat® Monitor is part of our comprehensive Leanheat® Software and Services Suite. This cloud-hosted, web-based SCADA solution allows you to remotely monitor and optimize your heating system, offering the same capabilities you enjoyed with Ally Pro™.
We realize there are many heating solutions on the market, and we appreciate that you chose Ally Pro™ as your system monitoring solution. And we look forward to helping you unlock the benefits of Leanheat® Monitor, opening the door to more efficient network operations and concrete energy savings.
How to get onboarded to Leanheat® Monitor
Danfoss Leanheat® Monitor
-
Go to Leanheat® Monitor from the link below.
-
Follow the step-by-step onboarding guide.
-
Start using Leanheat® Monitor today!
Leanheat Monitor
Sign up now and embark on a journey towards smarter heating solutions. Click the link below to begin your onboarding process and discover the benefits of Leanheat® Monitor.
Sign up