Danfoss Icon™ - diseñado para hacer la vida de las personas más fácil
Controles avanzados de la habitación para calefacción por suelo radiante hidráulico y otras aplicaciones con actuadores. Diseñado como un interruptor de luz para complementar el interior.
Concepto modular para cubrir cada aplicación:
Inalámbrico, 24V y 230V
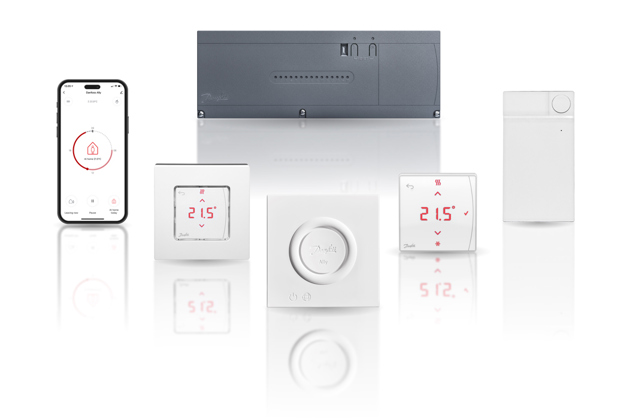
| Inalámbrico | 24V | 230V | |
| Modelos de termostato | Display + Display infrarrojos+ Dial | Display | Programable + Display + Dial |
| Versiones de termostato | Sobre pared | Encastrado + sobre pared | Encastrado + sobre pared |
| Marco intercambiable | Encastrado | Encastrado | |
| Icon App | |||
| Opciones refrig | Automático + Manual | Automático + Manual | Manual |
| Equilibrado automático | |||
| Control temp. suministro | |||
| Test puesta en marcha | |||
| Comunicación | Inalámbrico 2-way | Star / daisy chain bus | Cableado 230V |
| Zonas | Hasta 3x 15 = 45 | Hasta 3x 15 = 45 | Hasta 1x 8 = 8 |
Vídeos
Documentos
Preguntas más frecuentes
Do I need a mobile phone to install the Icon App Module?
Yes.
Simply follow the first 4 steps below. Once the Icon App Module 088U1101 is installed, the user can scan the QR code on the Icon App Module to download the Icon App (step 5 & 6 below) or search for “Danfoss Icon” in the App Store or Google Play.
How do I install and set up the Icon App?
Scan the below QR code or search for “Danfoss Icon” in the App Store or Google Play.
Open the App and press [Start setup]
Press the button on the Danfoss Icon App Module, when you are ready to set up the system. Remember to enable Bluetooth
Note: The App will prompt you to enable Bluetooth, if not already enabled on your phone. The green LED on the Danfoss Icon App Module will blink slowly, when not yet connected. When attempting to connect to the phone, the LED will blink rapidly. When connection is established, the LED will be permanently lid for 2 minutes, after which it turns off.
Name your house
Choose Network
Enter Wi-Fi code for the wireless network.
Note: This step is not needed, if the phone used is already connected to the chosen network
Enter user name
The system will save the data and confirm that the setup is completed
Instalación
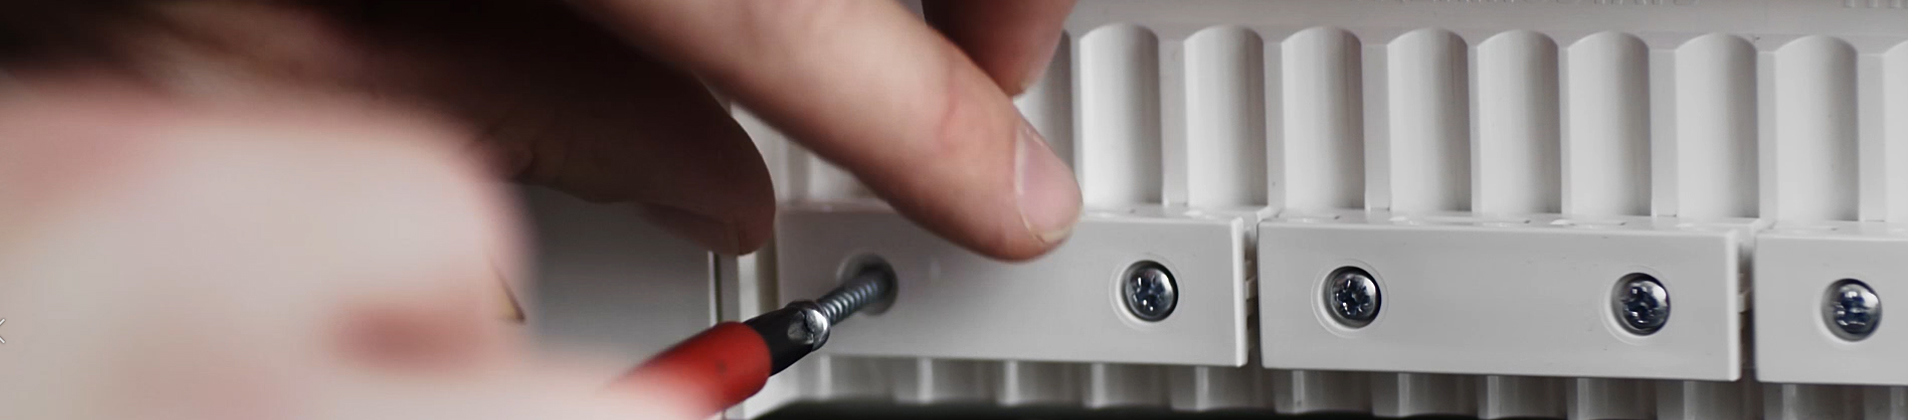
Fácil instalación
¡Es muy fácil obtener el control completo del sistema de calefacción por suelo radiante! Sólo los componentes eléctricos necesitan ser reemplazados y la instalación es rápida y fácil para un instalador profesional. El video muestra cómo.
Esquemas
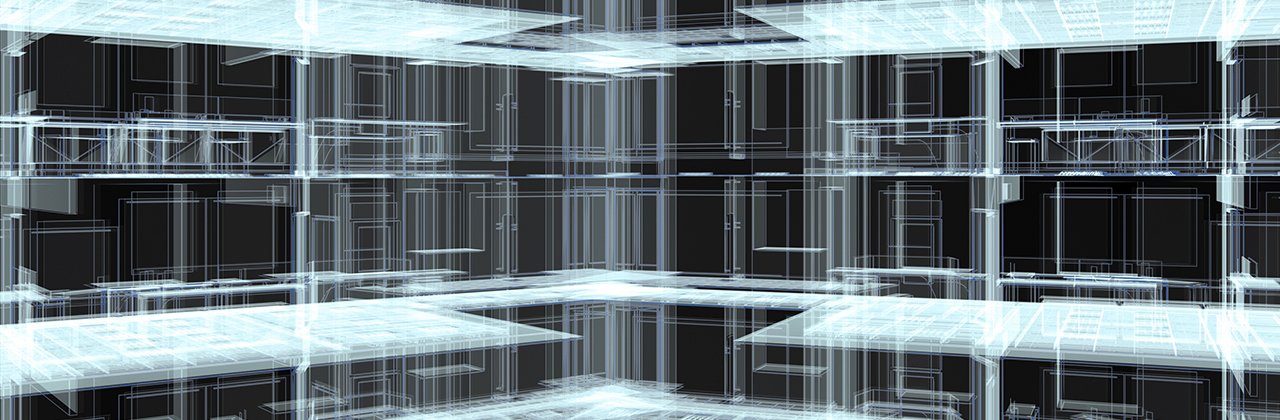
Librería BIM para diseños MEP
Obtenga sus objetos BIM 3D y comience a diseñar su calefacción por suelo radiante hidráulico.
Abrir en MagiCAD Cloud